
 Version
Select which version of the calendar you have
- Desktop Calendar 7
- Desktop Calendar 0.5
- FAQ
- Walkthrough
- Tips
- Hotkeys
- Installation
- Desktop Calendar 0.4
 Contact
Can't find the answer to your question here? Contact us.
Desktop Calendar 0.5 Installation
Before installing
If you're installing over a previous version of the calendar it is highly recommended you backup your events beforehand. As long as you install the calendar over the existing one (i.e. to the same folder on your machine) then your events will be carried over automatically, but a backup protects your data should something unexpected happen.
Step 1 - Downloading
After purchasing the upgrade, you will be e-mailed a download link. Click on it. If you're using Internet Explorer, you will be presented with the usual download options:
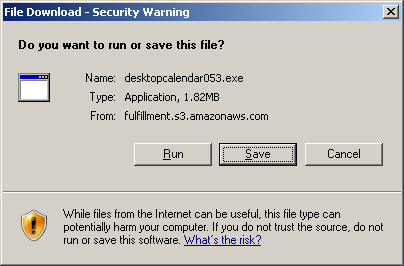
You can click 'Run' to start the installation process immediately, but it is advisable to choose the 'Save' option instead and select somewhere memorable. This insures if you ever need to install the calendar again you already have the installer.
If you selected the 'Save' option, now navigate to the folder you chose and double click on the installer.
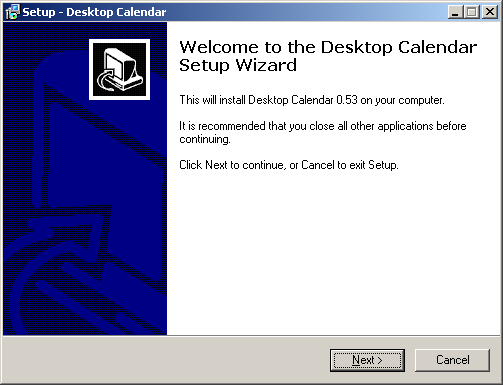
Step 2 - Installing
After launching the installer, you should see the welcome screen. Click 'Next' to continue.
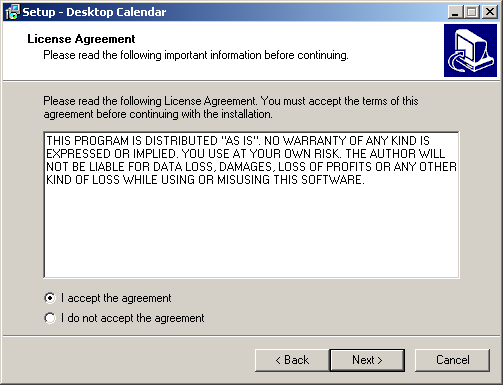
A short licence agreement will be shown. If you agree with the terms, select 'I accept the agreement' and click 'Next'.
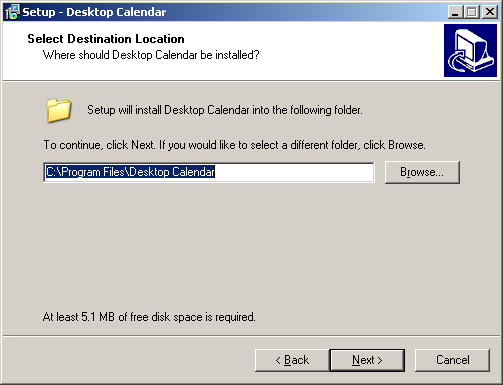
Now select where you would like the calendar to be installed. If you already have a previous version of the calendar, it is very import you select the same folder you installed to before. The installer will automatically try and detect this for you, so you can often just click 'Next'.
NOTE: If upgrading and you don't select the correct folder, your events will not be carried over automatically and you will need to import them in later from the backup you made earlier.
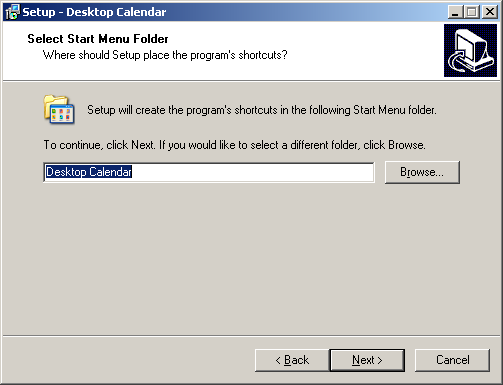
Next you can choose the folder name of the Start Menu shortcuts. The default is 'Desktop Calendar', so if you're happy with this click 'Next' to continue.
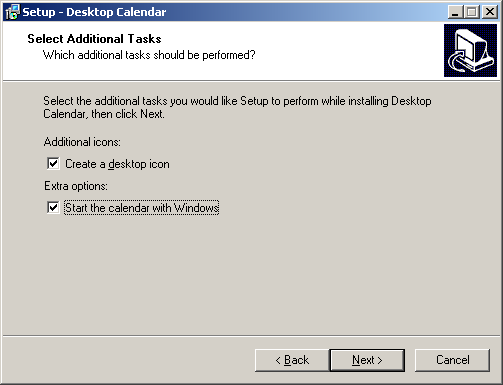
You can now select additional options. If you would like a shortcut placed on your Desktop, tick 'Create a desktop icon'. If you would like the calendar to be loaded every time Windows starts, tick 'Start the calendar with Windows'. Once you've made your selections, click 'Next' to continue.
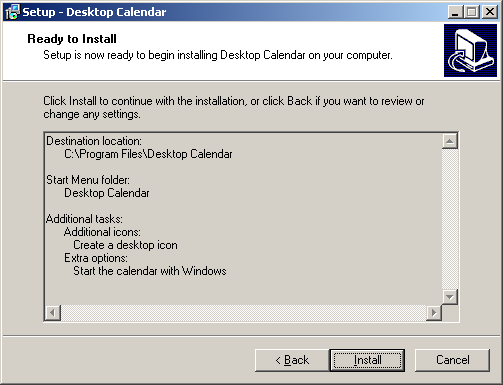
A summary of what the installer will do is displayed. Click 'Install' to proceed, or 'Back' to make an amendment.
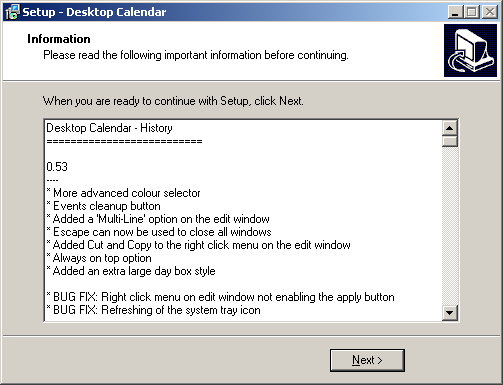
After the installation is complete, a change history will be displayed allowing you to see what's new in this version. Click 'Next' to continue.
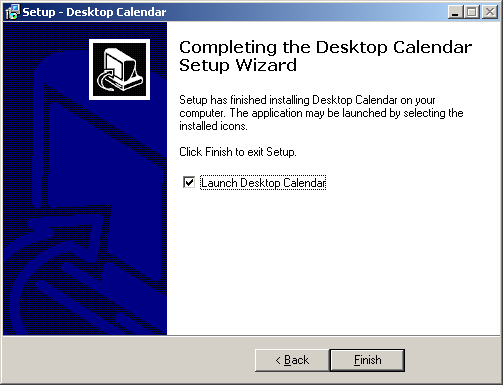
Lastly if you would like the calendar to start after the installer closes, tick 'Launch Desktop Calendar'. Click 'Finish' to exit the installer.
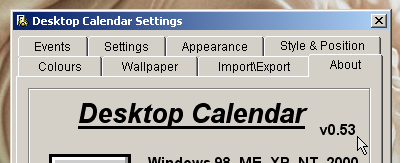
Step 3 - Verification
If you are upgrading from a previous version, you can verify the upgrade was applied correctly by opening the settings window and clicking on the 'About' tab. The version number should be displayed in the top right-hand corner: