
 Version
Select which version of the calendar you have
- Desktop Calendar 7
- Desktop Calendar 0.5
- Desktop Calendar 0.4
 Contact
Can't find the answer to your question here? Contact us.
Desktop Calendar 7 FAQ
How do I export a CSV file?
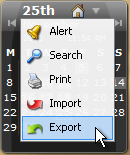
To open the export wizard, click on the down arrow at the top of the calendar and select "Export":
NOTE: You can also open the import and export wizards from the "Data" tab in the settings.
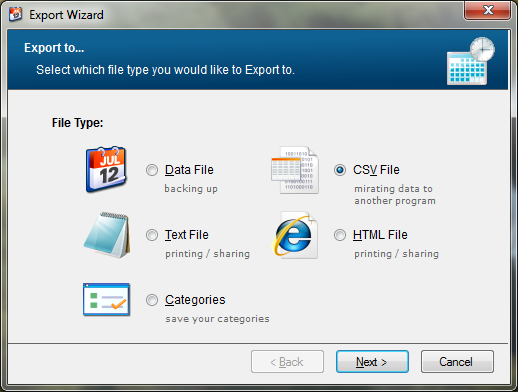
The wizard will appear, select "CSV File" for the file type and click "Next":
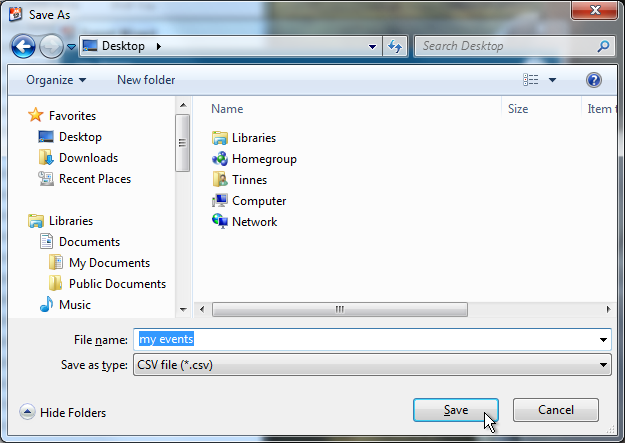
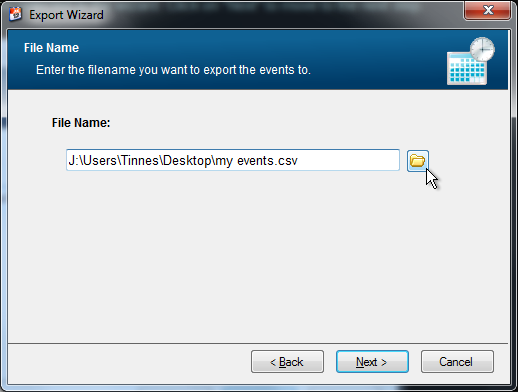
Now click on the folder icon to the right of the file name box. A dialog box will appear asking you to select a folder and enter a file name. When you're done, click "Save".
You will now see the file name you selected in the wizard. Click on "Next" to move to the next step.
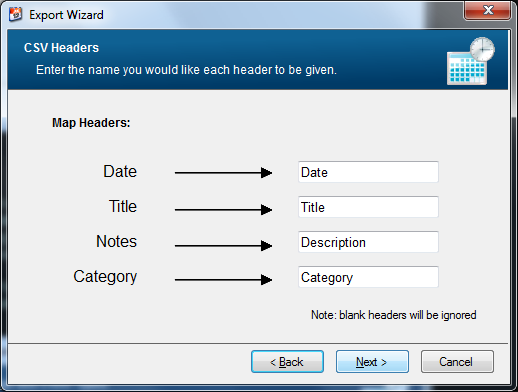
The next step is to set which headers the data should be mapped to. The fields on the left are where the data is coming from, the fields on the right are the columns they'll be outputted to. Leaving an output field blank will make it be ignored. When you're finished, click "Next".
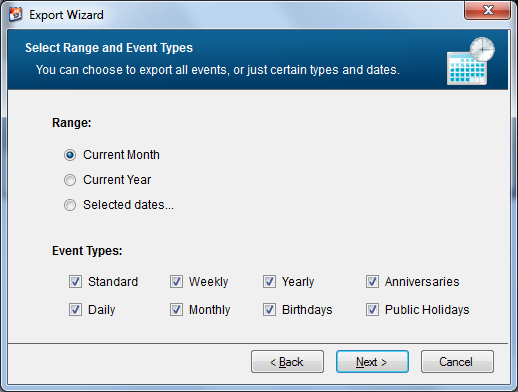
You will then be asked which dates and types of events you want to export. The date range options are pretty self explanatory. "All dates" includes every event in the Data File. "From today onwards" includes all the events after and including the date you're exporting on. And "Selected dates" makes two drop down calendars appear allowing you to pick your own date range.
You can also choose which type of events you want to export e.g. only Weekly, Monthly etc. If you want everything to be included, make sure all the boxes are ticked. When you're finished, click "Next".
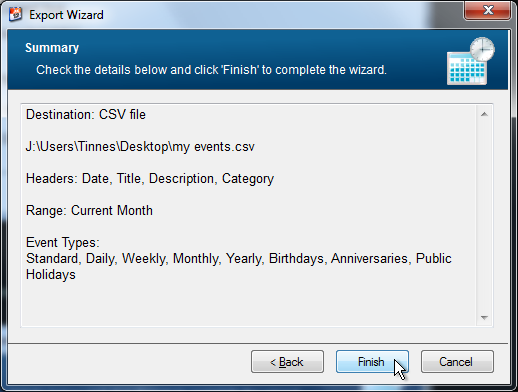
Now just check the details are correct and click "Finish".
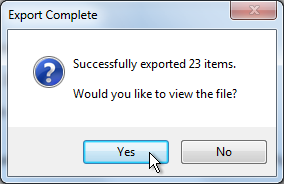
If the operation was successfully, the following message should appear telling you how many events were exported. Click "Yes" to view the file.