 Preset Data Files (for version 0.4x and 0.5x)
Here you can download common events (such as holidays) to import into your Desktop Calendar. If you would like to suggest some dates, or have spotted a mistake please let me know using the contact form.
Step 1 - Downloading
Choose a data file from the right-hand side of the page and click its 'Download' button. If you're using Internet Explorer, you will be presented with the usual download options:
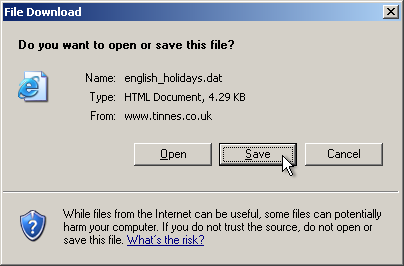
Click the 'Save' button and you'll be asked where you want to download the file to. I'd recommend the Desktop because it's memorable, but you can download it anywhere as long you can find it again later.
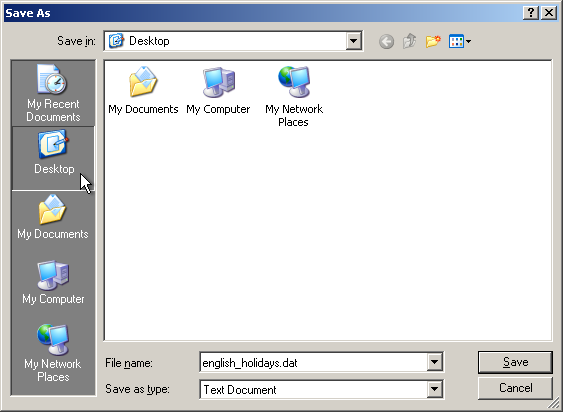
Click 'Save' to download the file.
Step 2 - Backing up your existing events (optional)
This step is optional but recommended. If something unexpected should happen during the import, or you decide you don't want the imported events after all, it's much easier to roll back if you have a copy of your original events safe somewhere. To perform the backup, follow the relevant guide:
Desktop Calendar 0.4x FAQ - Backing up your events
Desktop Calendar 0.5x FAQ - Backing up your events
Step 3 - Importing the data file (version 0.5x, for version 0.4x see the next step)
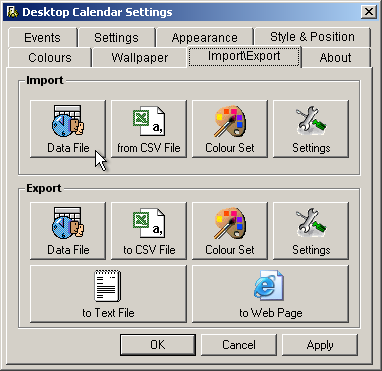
Go into the settings and click on the "Import\Export" tab, then the "Data File" button in the "Import" frame:
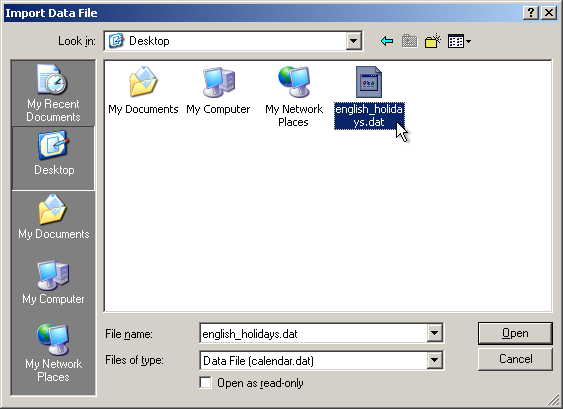
A dialog box will appear asking you to select a Data File. Choose the file you downloaded in Step 1 and click "Open".
You will now see the filename you've selected and the option "Don't add events that are already present". This basically means that if there are any event that are exactly the same (i.e. doubles) then they will be ignored. It is recommended you keep this option selected. Click on "Next" to move to the next step.
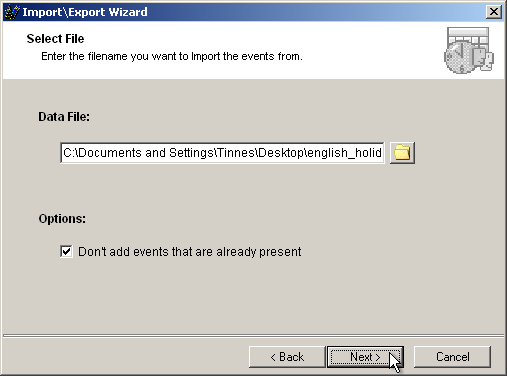
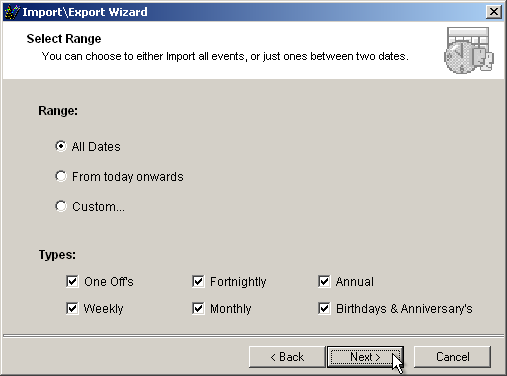
You will then be asked which dates and types of events you want to import. The date range options are pretty self explanatory. "All dates" includes every event in the Data File. "From today onwards" includes all the events after and including the date you're importing on. And "Selected dates" makes two drop down calendars appear allowing you to pick your own date range.
You can also choose which type of events you want to import e.g. only Weekly, Monthly etc. If you want everything to be included, make sure all the boxes are ticked. When you're finished, click "Next".
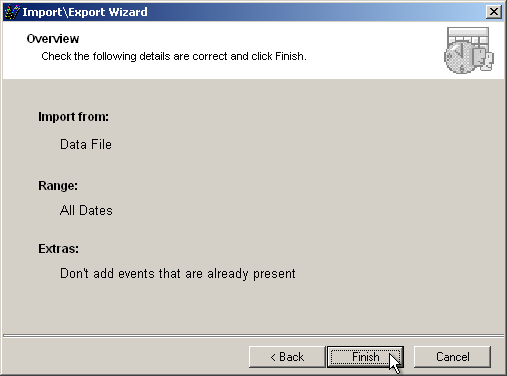
Now just check the details are correct and click "Finish".
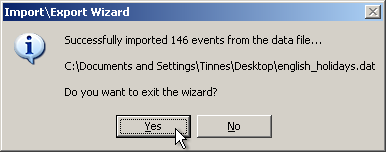
If the operation was successfully, the following message should appear telling you how many events were imported:
Step 3 - Importing the data file (version 0.4x)
! NOTE: IF THERE'S A DATA FILE ALREADY PRESENT THEN IMPORTING WILL OVERWRITE IT !
Go into the settings and click on the "Import\Export" tab, then the "Data File" button in the "Import" frame:
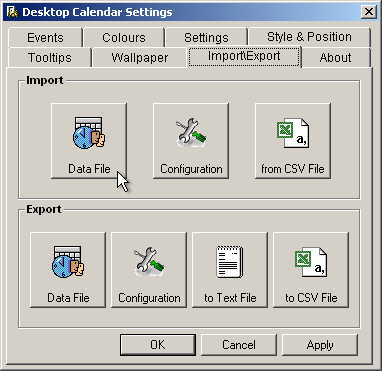
A dialog box will appear asking you to select a Data File. Choose the file you downloaded in Step 1 and click "Open".

If there's already a data file present, you will be asked if you are sure you want to overwrite the file. If you do choose to proceed then the old file will be overwritten by the new and you will lose all your events!!!!
If there is no data file already present then the new one will be imported without any prompting.

If the import is successful, the new events will be immediately loaded into the calendar.


